
One of the biggest problems homeowners face is patching stucco. It’s a complex task, and it can be time-consuming.
In the following article, I go over the basics of stucco patching.
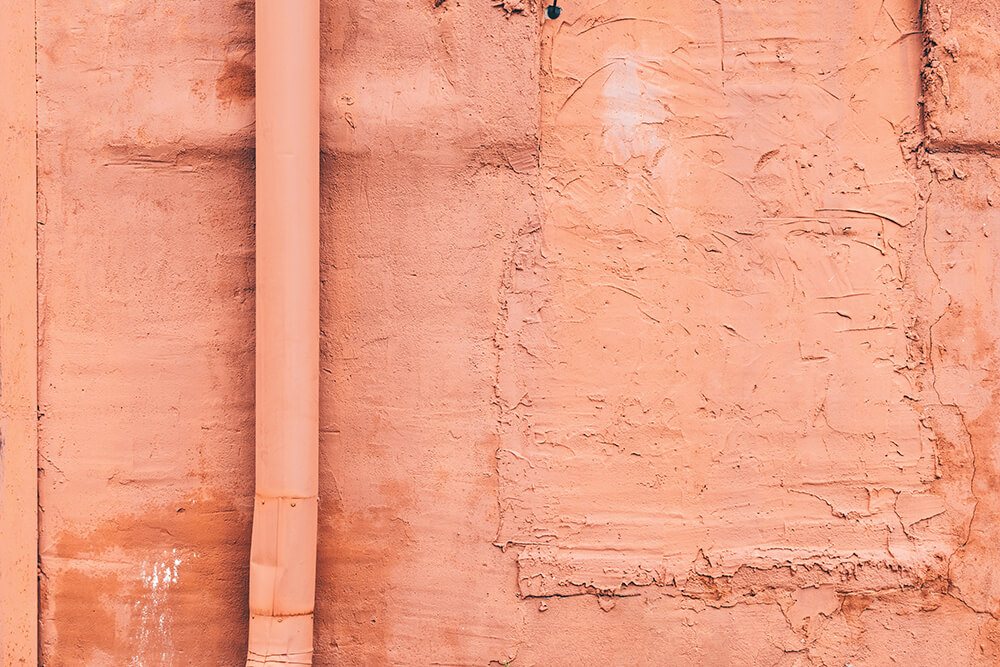
Step 1: Find out whether you need to patch your stucco.
Stucco is made of two layers of cement and a thin layer of sand. This mixture is then mixed with water and formed into a paste. Once it dries, it takes the shape of the mold in which it’s applied.
If your stucco begins to flake off, you’ll need to remove the existing stucco and apply a new layer of stucco.
If the stucco is peeling in certain areas, you can patch it without removing the old stucco.
If you aren’t sure whether you need to patch your stucco, it’s always a good idea to consult a professional.
Step 2: Remove the existing stucco.
In most cases, patching stucco involves removing the existing stucco and applying a new layer of stucco.
This is the most complicated part of the process, as it involves cutting away the existing stucco and applying a new layer. This requires the use of a wide range of cutting tools and safety precautions.
Step 3: Apply new stucco.
After you’ve removed the existing stucco, it’s time to apply the new layer.
In most cases, stucco can be applied with a trowel. However, it’s important to note that stucco is a very difficult material to work with, and trowels aren’t the most efficient tools.
In other cases, a stiff-bristle brush works well.
If you have a trowel, trowel the stucco in the pattern of the old stucco. However, make sure to avoid using a trowel on a wet surface.
Step 4: Patch the stucco around the door.
It’s important to make sure the patching process doesn’t damage the door.
A good way to do this is to apply the new stucco around the door and walls, leaving a small area around the door open.
Once the new stucco is dry, you can patch the small area surrounding the door.
Step 6: Reapply the sealant.
Once you’ve cleaned up the dust and debris, it’s time to reapply the sealant.
In most cases, the sealant needs to be reapplied after a few weeks or months.
Step 7: Reapply the paint.
If you’re painting the room, it’s important to make sure the paint doesn’t peel off the walls.
You can use a small amount of paint sealant to make sure paint doesn’t peel off the walls.
You can also use a little bit of paint to coat the wall. However, you can only do this if the wall is completely dry.
Step 8: Reapply the caulking.
If the roof leaks, it’s important to make sure the roof doesn’t get damaged.
To prevent water from getting into the walls and ceilings, you can use caulking for the roof.
Caulking is available in many different colors and can be easily applied with a caulking gun.
Step 9: Clean up
Once you’ve applied the caulking, you can clean up.
You can use a large brush to remove all the dust and debris. Then, use a damp cloth to remove the remaining dust.
You can also use a vacuum cleaner to remove the loose dust and debris.