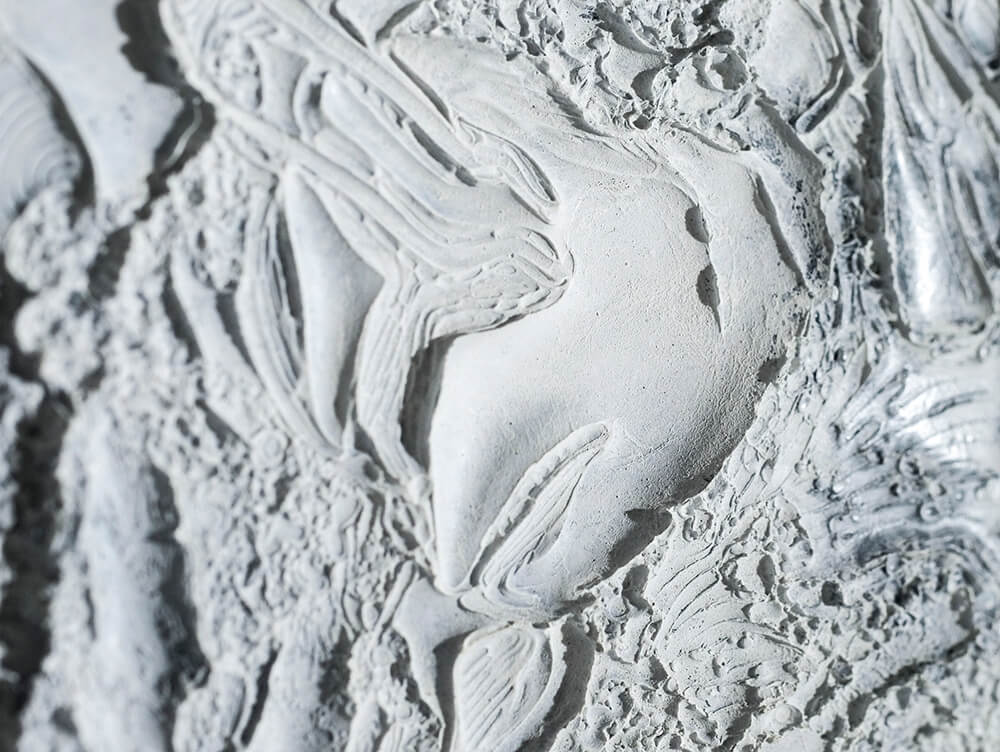
Stucco is a popular exterior building covering material due to its dexterity and professional looks.
However, it is a common problem that stucco can chip, crack, and deteriorate over time, especially during harsh weather conditions.
You can avoid having to deal with this problem by doing the necessary stucco repair yourself.
Stucco Repair DIY
Step 1: Clean the Stucco
It is advisable to clean the stucco before attempting the repair, as this will help you avoid having to do any repairs twice.
To start the cleaning process, you’ll have to remove any dust and debris from the surface of the stucco.
The following are some ways you can do this:
Spray water on the stucco using a garden hose.
Wet-brush the stucco.
Scrub the stucco.
Use a steam cleaner to dust the stucco.
Use a pressure washer to remove dust and debris off the stucco.
Step 2: Remove the Damaged Stucco
Once you’ve cleaned the stucco, you can now proceed to removing the damaged stucco.
To do this, you’ll have to use a trowel to scrape off the damaged stucco and remove any loose bits.
Step 3: Apply Stucco Repair Material
Since stucco repair material is available in different textures and finishes, you’ll have to choose the one that best suits your needs.
The following are some of the things you can use to repair the stucco:
Paint – The most commonly used stucco repair material.
Water-based paint – This material comes in a variety of finishes and can be used on a variety of surfaces.
Drywall mud – This material comes in various textures and is used to fill gaps and cracks in drywall.
Stucco repair compound – This material is used to fill and smooth small cracks.
Stucco tape – This material comes in a variety of textures and works best for small cracks.
Stucco filler – This material is used to fill small gaps and cracks in stucco.
Step 4: Apply the Repair Material
Once you’ve chosen the stucco repair material, you’ll have to apply it to the stucco.
You can do this by troweling and then smoothing out the repair material using a roller.
If you’re using paint, you can apply it by troweling it on and then using a brush to feather in the edges.
Step 5: Sand and Seal the Repair Material
If your stucco has a rough texture, you’ll have to sand it before repairing it, as sanding will help bring out the smooth texture of the stucco.
You can use a sanding block with medium grit or a power sander to sand the repair material.
Once you’ve sanded the stucco, you’ll have to seal it to help protect the stucco from damage caused by the elements.
Step 6: Apply a Finish
Once you’ve repaired the stucco, you’ll have to apply a finish on it.
This is done to protect the stucco from the elements.
You can use a paint, stain, varnish, or sealant to protect the stucco.
In addition, you can also use a clear sealant to seal the stucco.
Step 7: Add a Top Coat
If you’ve already completed stucco repair, you’ll have to add a top coat on the repaired stucco to protect it further.
Step 8: Enjoy the Beautiful Stucco
Once you’ve completed the stucco repair, you can enjoy the beautiful stucco.
See, that wasn’t so hard, was it?
I’m sure you can do it too!


